
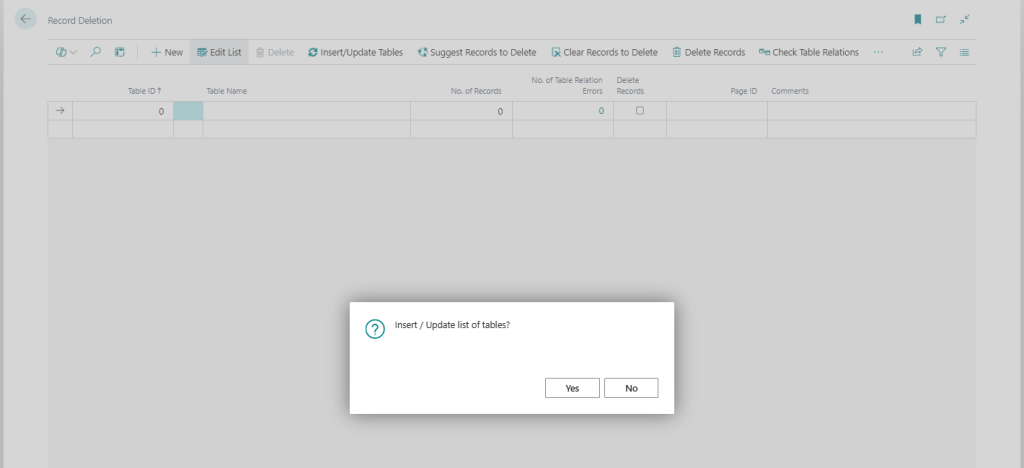
First step is to click Insert/Update Tables. This will populate the list with all the tables that are in the database. If you afterwards add new tables you can run this function again to have them added.
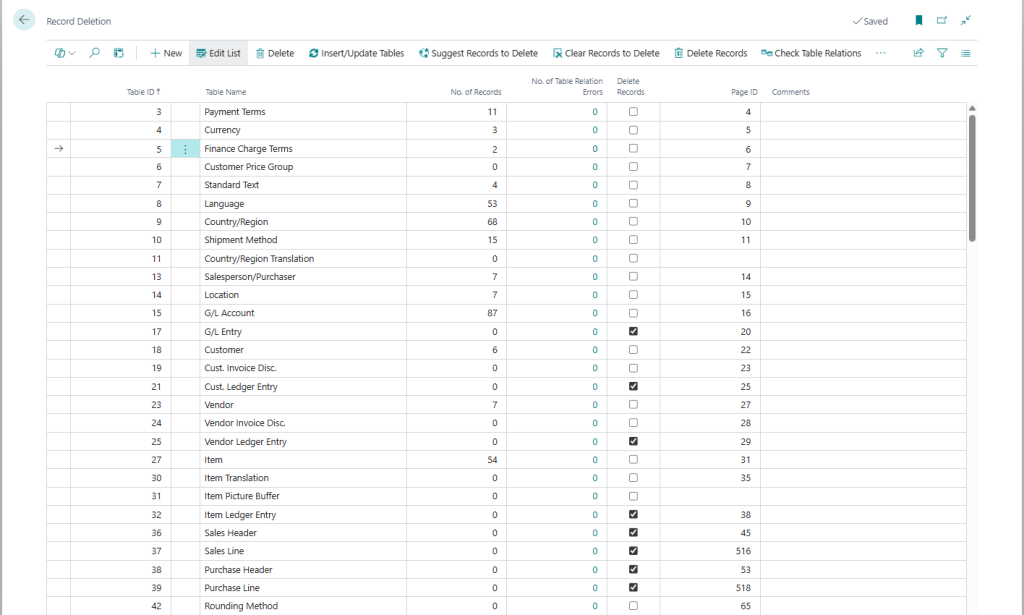
Then you go through and select the tables you want to delete records from by checking the Delete Records field. The function called Suggest Records to Delete will select the tables you typically want to delete records from when cleaning a company from transactional data. Note that the selection of tables in this function is based on a World Wide version of Business Central. If you have a localized version, any add-ons or customizations then you will need to review those tables and manually select additional tables to delete records from. Also note that we are not responsible if this suggestion selects something you don’t want to delete or skips something that you do want to delete. 🙂
The Clear Records to Delete function removes all the selections.
When you are happy with the selection you press Delete Records. Business Central now goes through the tables and deletes all records from each of the selected tables. It might make sense to do a backup of the data before you do this. Just copy the company before this step is an easy way to do that, so at least you have a company that can easily be restored or copy/paste data from.
After the records have been deleted it is recommended to review the tables that still have data in them to make sure you have not missed anything. The easiest way to do this is to just apply a filter on the No. of Records field to be <>0 and use the View Records function to view the records in the tables.
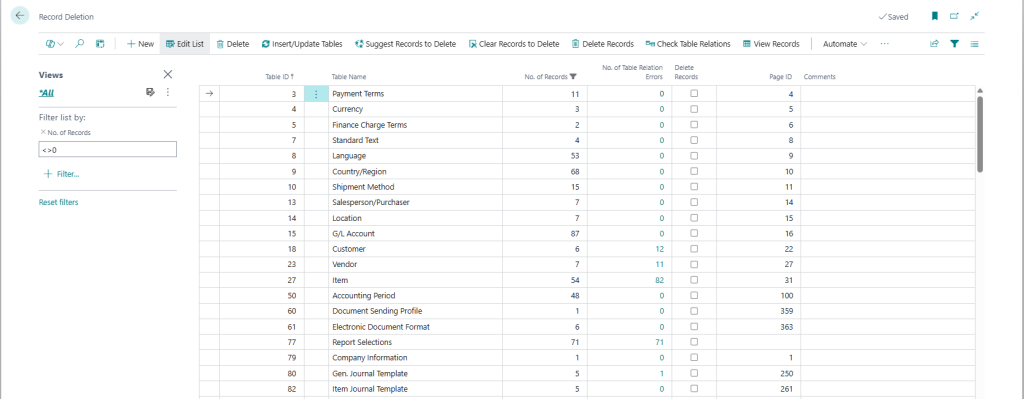
When selecting View Records the table will be run to show all the records.
When looking at the records it is typically quite easy to see if they should have been deleted or not, if the records has an entry number, document number, etc. it is most likely transactional data that should be deleted. The number of records in the table could sometimes also give you a hint if it should be deleted or not.
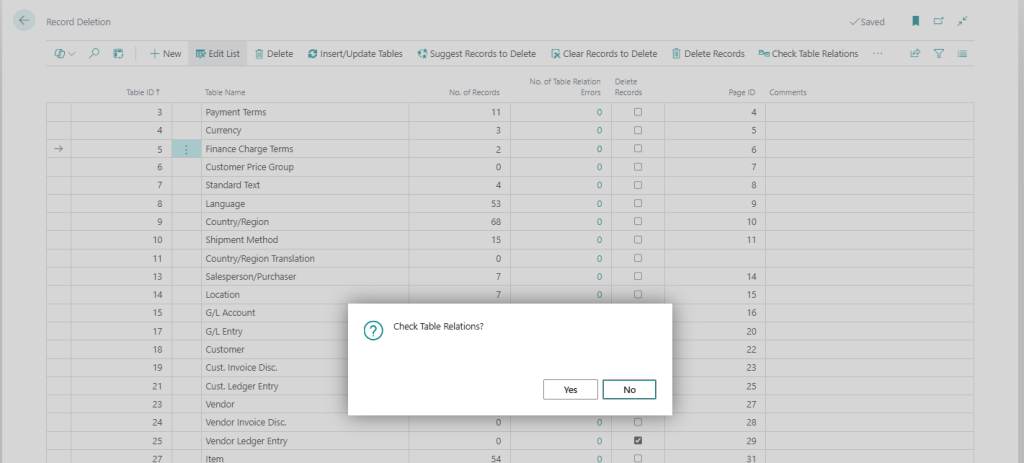
The next option when reviewing the remaining data is to use the Check Table Relations function. This function runs through all records and uses the field relations defined in the Field table in Business Central and validates the table relations by just looking if the related record is in the database or not. Note that this only checks the very basic relations where a field has a table relation to a field in another table (similar to the table relations you find in the FactBox in the configuration worksheet). It does not check table relations that involves multiple fields or conditional table relations. But it is still a good check.
After the check on the table relations has run you can set a filter on the No. of Table Relations Errors to be <> 0 and you should see if there are any basic table relation errors.
If there are any errors you can make a drilldown on the number to see the errors.

As mentioned above the table relation check is only doing a basic check, so don’t rely too much on it. If you have a large amount of master data it might also take a while to run.
As a side note; if you are preparing a database for go-live like this then remember to also review and reset the number series. And remember to always test the final result.